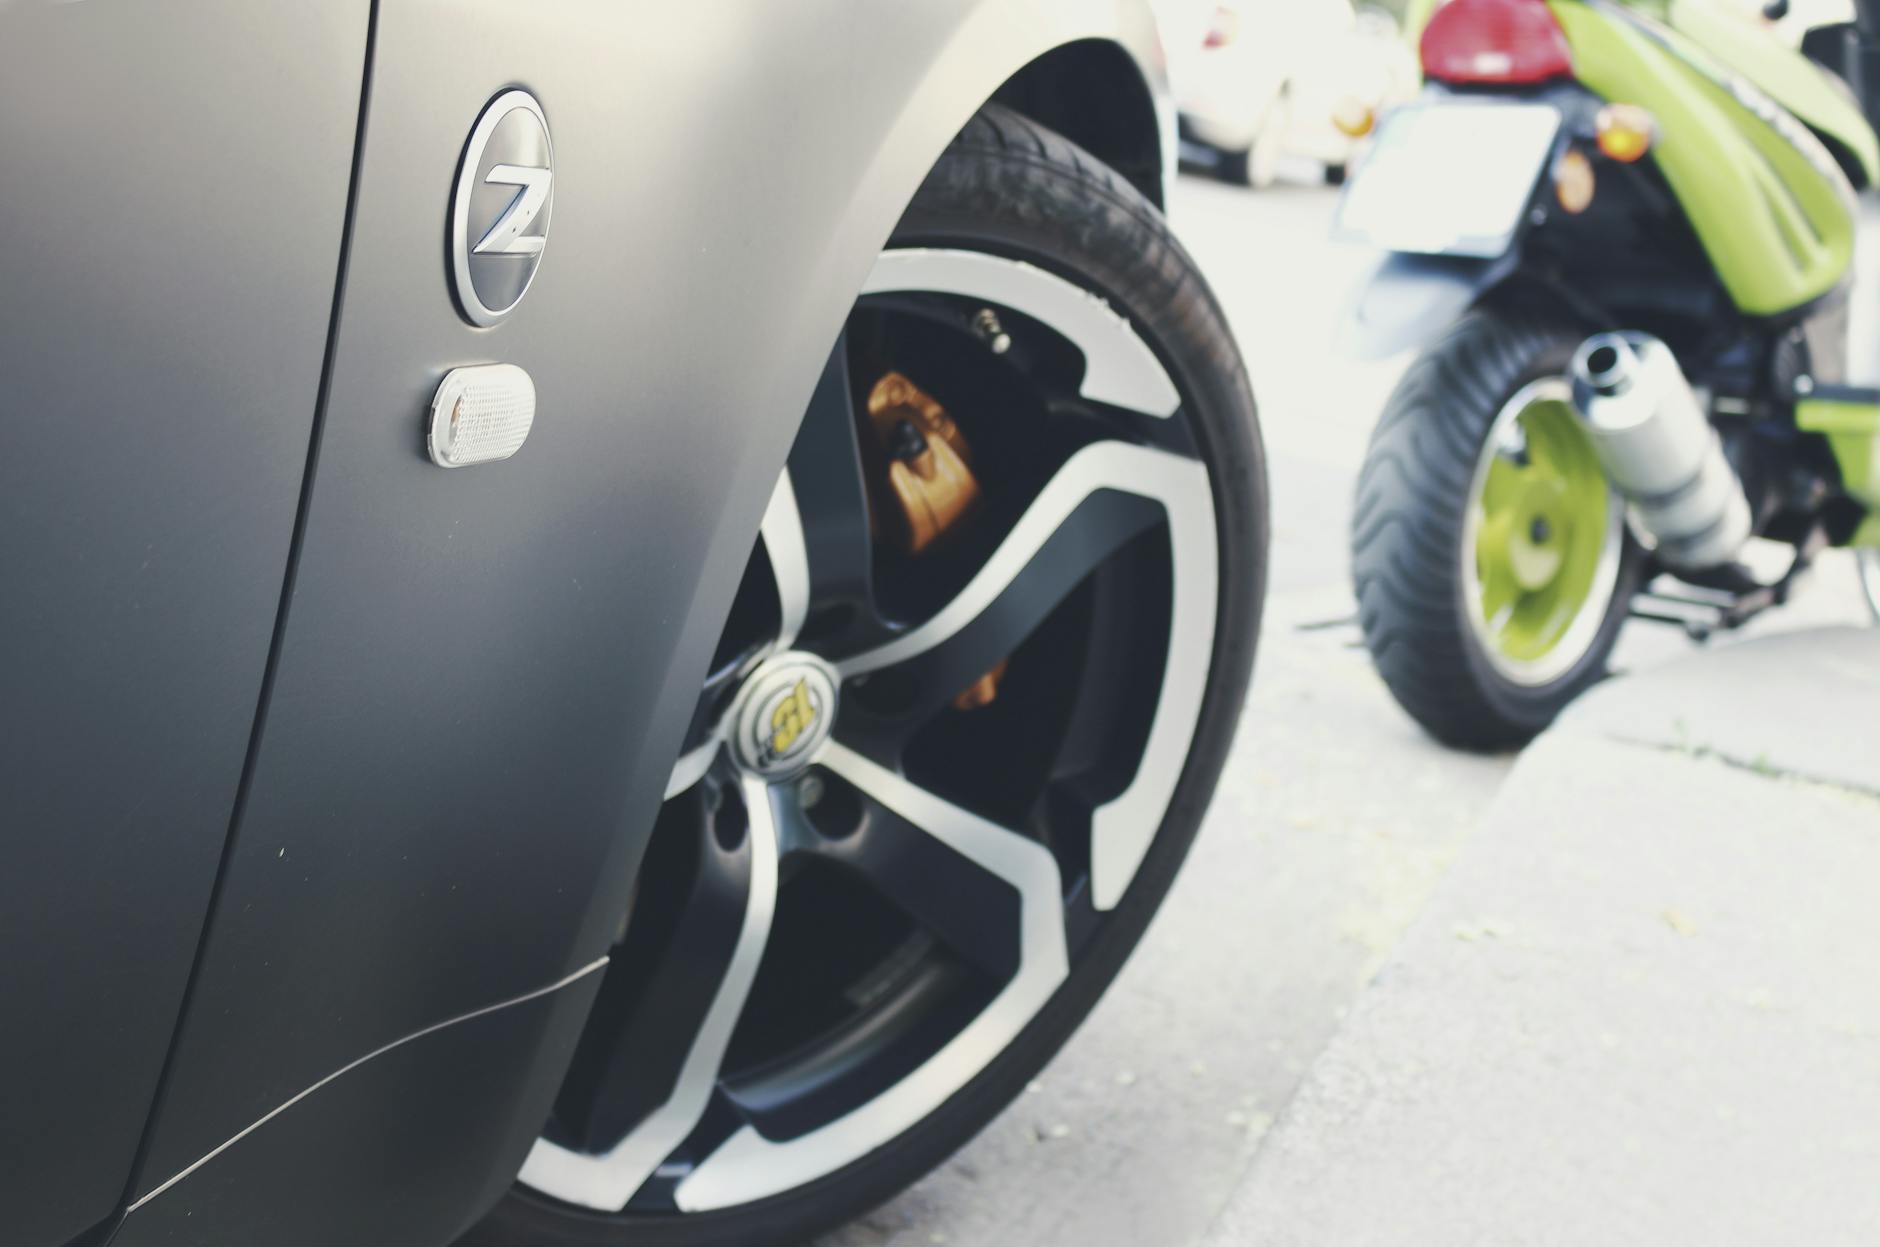
Auto Spray Paint 101: Gen X's Go-To Guide

Spray painting your own vehicle can be a highly rewarding DIY project for Gen X enthusiasts. Not only can it save you money on professional paint jobs, but it can also be a satisfying way to revive an older car or express your personal style. This guide provides essential tips for perfecting your car's finish quickly and efficiently.
Before You Begin: Preparation is Key
Step 1: Gather Your Supplies
You'll need the following items before you start your project:
-
Auto spray paint: Choose high-quality paint that's appropriate for your car's surface.
-
Primer: This will help the paint stick better and last longer.
-
Clearcoat: To protect the paint job and add a glossy finish.
-
Sandpaper: Various grits for smoothing the surface and removing old paint.
-
Masking tape and paper: To protect the areas you don't want to be painted.
-
Safety gear: Gloves, goggles, and a respirator mask to protect yourself from fumes and particles.
Step 2: Environment
Ensure you have a well-ventilated, dust-free workspace to prevent debris from sticking to wet paint and to protect your health.
Step 3: Surface Preparation
Clean the surface you are going to paint thoroughly and sand it down smoothly, starting with coarse grit and moving to a finer one.
Step 4: Mask Off
Use masking tape and paper to cover windows, mirrors, and any trim or areas you don't want the paint to get on.
Practice Makes Perfect: Honing Your Technique
Step 1: Test Your Spray Paint
Before applying paint to the car, test your spray paint on a hidden area or a spare piece of metal to get a feel for the spray pattern and flow.
Step 2: Multiple Light Coats
It's better to apply several light coats of paint rather than one heavy coat. This prevents runs and drips and ensures even coverage.
Step 3: The Proper Distance
Hold the spray can about 6 to 8 inches away from the surface, and spray in a steady, back-and-forth motion, overlapping each stroke by about a third.
Step 4: Let it Dry
Allow ample drying time between coats. Check the paint instructions for the recommended drying time.
Finishing Touches: Sealing the Deal
Step 1: Sanding Between Coats
After the base coats are dry, lightly sand the surface with fine-grit sandpaper to ensure a super smooth finish.
Step 2: Applying Clear Coat
Once the final paint coat is dry to the touch, apply a clear coat layer for additional gloss and protection.
Step 3: Final Sanding and Buffing
After the clear coat is completely dry, you may wet-sand it with extremely fine sandpaper (2000 grit or higher), followed by buffing to achieve a showroom shine.
Aftercare: Maintaining Your Masterpiece
After putting in the effort to spray-paint your car, regular maintenance is essential. Keep it clean and wax it regularly to protect the new paint from the elements. Also, cover it or park it in a garage whenever possible to help the paint last longer.
With this guide, Gen X DIYers can confidently tackle their auto spray paint projects. Remember, patience and attentiveness to detail are your best tools for achieving that perfect finish. Now, get out there and transform your ride!